Tag: second day hair

09
Mar

How I get textured, second-day hair on a short bob.

Guys, I won’t lie, it’s taken me a bit of bloody perfecting to get this right – I put this down to the fact my hair has COMPLETELY CHANGED TEXTURE SINCE HAVING A TINY BABY – but that’s for another post/century.

ZoeFosterBlake_JenStenglein
Pic: Jennifer ‘T & A” Stenglein


I’m working with hair that is:

  • A total bitch
  • Fine
  • Flat
  • Straight (IT USED TO BE CURLY GUYS WHAT THE HELL IS GOING ON SOMEONE CALL THE POLICE I’M SCARED)
  • Slippery
  • Lank
  • Short

Which I wish was:

  • Full of volume
  • F-d up
  • Messy
  • Gritty
  • Textured
  • Dirty
  • Movey… as opposed to wavy. Almost straight, but full of body, with a soft wave. (I flick it over from side to side, real ’80 style, so curls don’t work.)

So. I get a real good cut at Edwards and Co every 3-4 weeks. Also a colour. (I see either Monsieur Jaye Edwards himself, Melvin Royce Lane, or Lauren Mackellar, they are all EXCELLENT and I trust them implicitly.) My natural hair without bleach in it is a floppy, flat mess. I get the ends razored so the bob doesn’t look TV Newsreader/too perfect/daggy.

I wash with a volume shampoo like Redken Body Full Shampoo to remove all product and start the scaffolding of volume. Then I wash again to actually clean the hair and scalp. No conditioner. My hair can’t handle it at the moment. Buzz off, conditioner! I heard you were a snitch anyway.

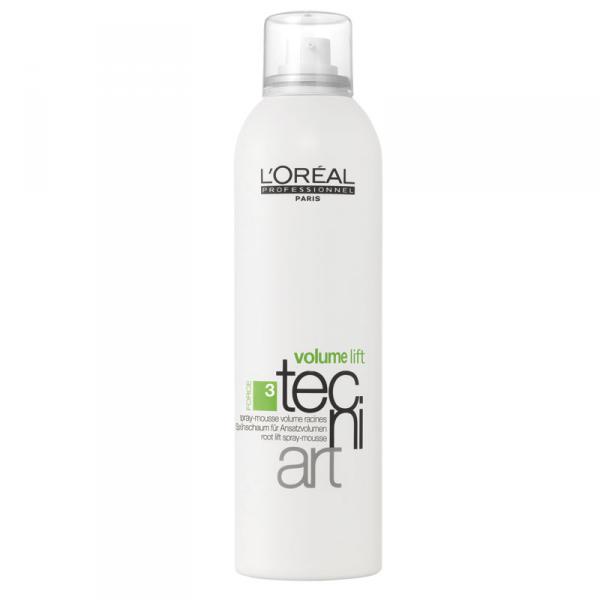
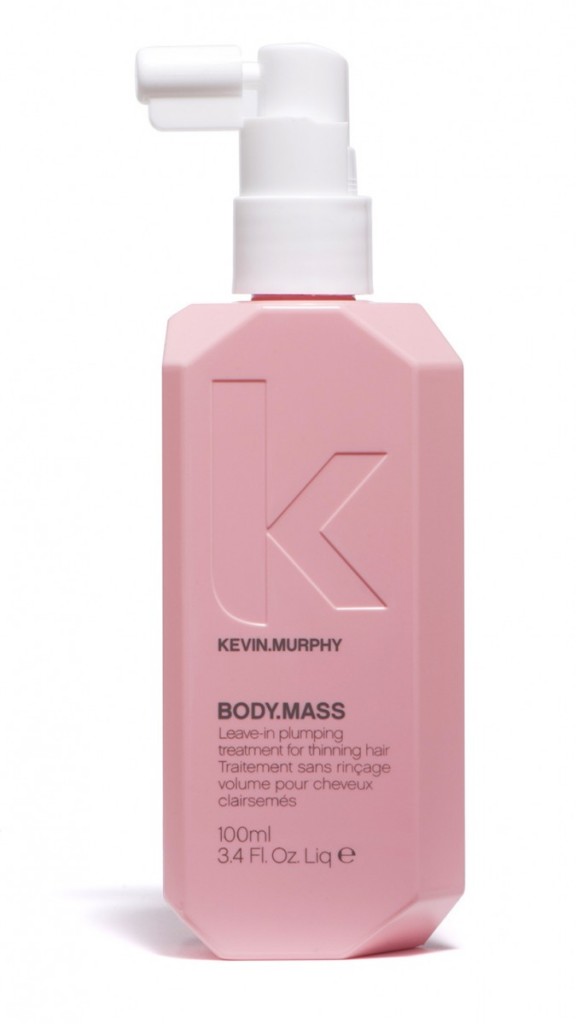
On damp hair, I spray some kind of volume boosting, body-boosting, fullness product all over. This might be L’Oréal Professionnel tecni.art Volume Lift Spray, which is lightweight and has a targeted nozzle and which I love, or it might be Kevin Murphy BODY.MASS, and not just cos the bottle looks great, don’t be so godamn shallow.

Kevin Murphy BODY.MASS

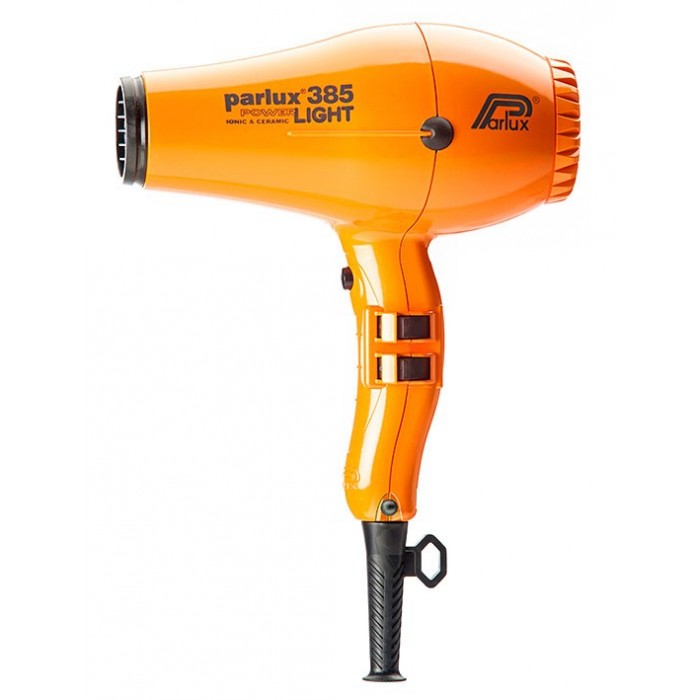
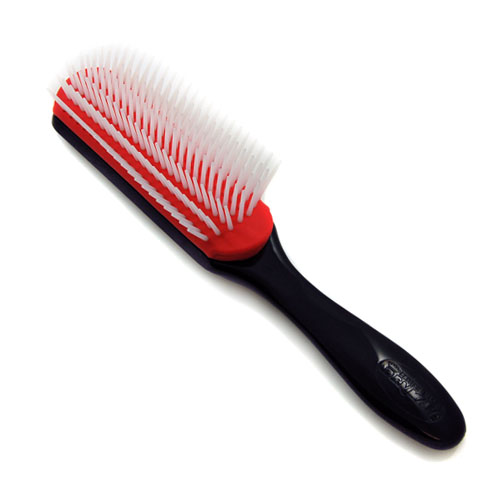
Then I blast dry with my beloved bright orange Parlux 385, of which there is no comparison, either hand drying the hair (no nozzle on the hairdryer), or (using the nozzle now), brushing the hair in every direction, across, over, both sides, with my Denman Styling brush, of which there is also no comparison. This creates more volume. More air in the hair.

parlux_385_powerlight_orange

I then go to bed. I never tong freshly washed hair. It sucks. Hair needs to be a bit lived in so the curl will hold.

Next morning, it’s about shaping the hair. Not curling. Shaping.

THE TWO-MINUTE ROUTE:

Wake up, take something “gooey” and thickening and run it through the hair, all over, to give the hair movement and thickness and a mild ‘wetness’, like Kevin Murphy UN.DRESSED. (Your chap’s matte texture clay could even work here, esp from the mid-lengths to the ends.)

THE PROPER SETTING WHICH WILL LAST LONGER BUT ALSO TAKE LONGER:

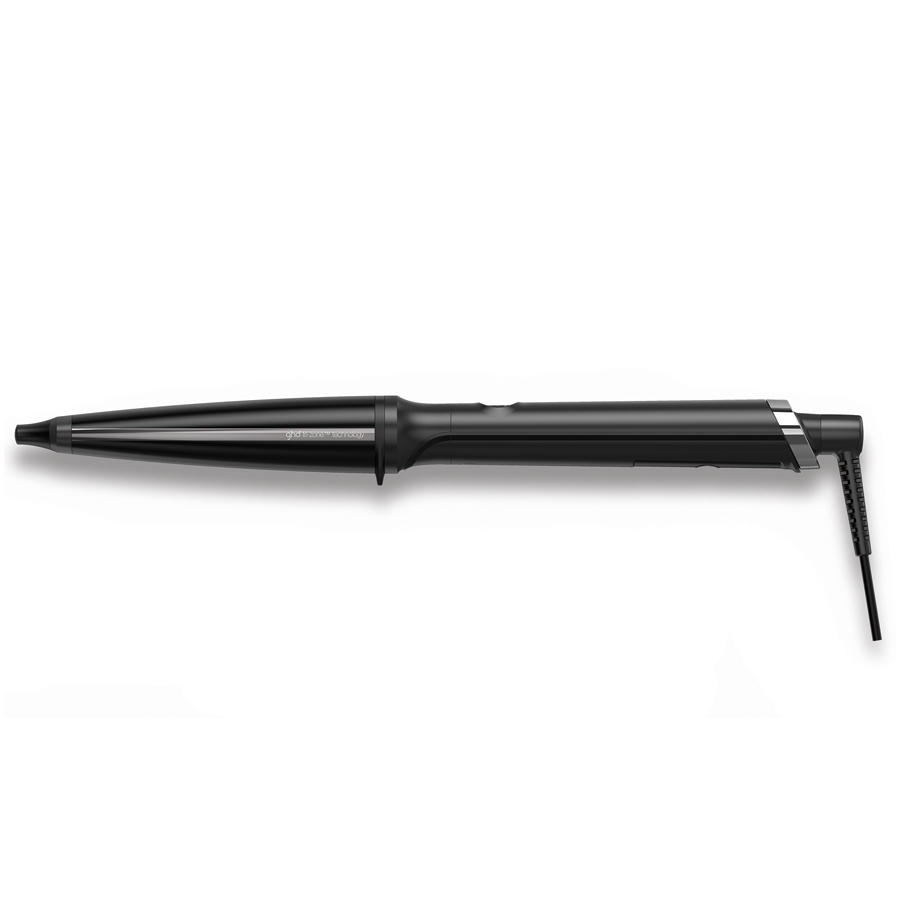
I spray in setting spray, like Matrix Thermal Active Setting Spray, then I use either the ghd Curve Creative Curl wand, (I like the tapered barrel for haphazard, I-woke-up-like-this waves), or my beloved Babyliss curling tong. With longer hair, you can afford to leave ends off the styler, to create beachy, lazy waves. With my length, it’s better to get those ends on that styler/tong, because leaving the ends out looks so ’90s and crunchy. So I wrap from the mid lengths to the ends of the hair for approx. 8.04 seconds, then I remove wand, and I tug and pull at the bottom of just-curled sections so loosen up the wave and make it straighter.

ghd Creative curl Wand

Then I let it set. Curls and waves only set when they are stone cold. No touchy til then. (Maybe a light mist of Bumble and bumble Spray de Mode, but that’s it.) Being fine, my hair demands I go easy on the finishing products. (It also demands pikelets for breakfast, but is less victorious in that respect.)

After 10 mins or so, I go through the hair with a wide tooth comb, to make waves blend, and to soften them up.

Then a light dusting of volume powder (Evo Haze, for instance) all over the top of the head, massaged into the scalp, for grit and to zap any remaining floppiness. I run fingers through and mess around with it a lot to get the shape right.

IF I STILL FIND IT TOO WAVY: I spray some sea salt spray lightly over the hair and blast hair dryer on high heat over it for 30 seconds. This will straighten it, but maintain texture.

I add more volume powder and dry shampoo each day for about three days, when the hair finally looks utterly perfect for about six minutes… then it’s time to wash again.

It’s definitely a dirtier, more product-ier is better hair style. I miss lazy top-knots, but I feel WAY more me with short hair.

And remember: the shorter the hair, the shorter the hemline. YEEEEEEEEEW!
 

Responses to this drivel: 17 Comments
14
Mar

The Beauty of Day Beforesies.

I’m often asked for my best beauty advice, and I often go completely blank when trying to come up with some, before rambling on about dry shampoo for the 683th time.

But sitting here after a strong coffee, it has come to me at last! The advice I swear by! The best kind that is widely useful! It’s Day Beforesies. 

When I need my best hair and skin and tan and nails and even makeup (in some instances) I do it the Day Before. This allows things to settle in, and settle down, and relax a little. Things are a bit lived in, a bit less perfect, a bit more malleable. Also, it gives you some time and room for error, should there be any (in the way of orange wrists or over boofy blow-dries.)

Some of my Day Beforesies include:

HAIR

I really swear by this one  (f-word swear). My hair never looks good or behaves when freshly washed. Few people’s do. It’s slippery and boofy and silly, or fluffy and frizzy. So, I always wash it at night, particularly if I need it to look nice the next day for an event or a big trip to the post office. (The life of a stay at home writer.) Here’s how I achieve the perfect second-day hair: I wash it, then apply some root lift mousse (I like L’Oreal Professional’s Tecni.Art Volume Lift Root Spray-Mousse for its small nozzle and targeted spray, making it easy to get to the scalp/areas that need root lift, rather than spewing up a big ball of mousse you have to distribute with fingers and generally get wrong. Also, it’s soft, no stickiness or feeling like you just added concrete to your hair) on wet hair and then I dry off to 80% using high heat on my hair dryer, and my trusty Denman styler brush, taking the hair in every direction all over the head so the nozzle of my hair dryer can get in there and get that volume from every angle. (“Wrap drying” I refer to it in Amazing Face.) The drying off will give it some smoothness, but I then secure in a very high bun for more volume and wave until bed time, when I let it out.

Next morning? Lovely waves with a tonne body that can very quickly blow-dried smooth with a barrel brush, or curling-tonged and then lightly sprayed with hairspray/sea salt spritz for glamorous curls/waves. (Which will last a few days, then a few more with dry shampoo.)  Try it. You’ll see. Do the work in prep and enjoy days of good hair.

Loreal-tecni.art-volume-lift-250ml-spray-mousse-1314-pDenmanbrushstyler


TAN

This one is fairly self-explanatory. We don’t do a deep tan application (or get a spray tan) on the day we need to look tanned. We do it the afternoon or night before, so it can kick in and we don’t stink up the joint. And we always add a little bit of lotion to the elbows, knees, wrists and ankles when we’re done so as to dilute in those bits, and make sure there’s no orange makes. Then, the next morning we shower off the excess and apply a thick, fragranced body lotion, butter or balm to lock the tan in, and hydrate the skin and mask any remaining scent. If there are any little areas of build up around the ‘bends’ (elbows, knees, ankles or wrists) I use a bit of body or hand scrub (lather with water in hands, but keep the bit you are trying to stain-remove dry) and then rinse. If things are terrible and people will likely notice I have a deep cigarette butt coloured line around my wrists, I get out my Chux magic eraser and very gently, using ONLY the white side, rub it on the spot til it goes. It’s harsh, it’s not recommenced for even remotely sensitive skin, but it works when nothing else will.

Chux-Magic_eraser


SKIN

In-salon facials are wonderful things, I recommend them very highly for ongoing skin maintenance and long-term results. But don’t expect to look good on the day you have one. Whether it’s a highly active facial (peels, micro-dermabrasion etc) or a lovely, nourishing, traditional facial, you will not look good on the day of the facial. You will look red and blotchy. You will look roughed up. You will look glowy but half asleep. You will have small pieces of mask sticking to your nose and hairline. It’s not good. And, furthermore, it’s not a good idea to load up with makeup after a treatment – ideally book facials as late as possible so you can just go to bed (and avoid sun exposure if you’ve had a strong peel) and let all the goodness sink in overnight. The results will be there in the morning, usually. (Some medi-peels are different, they can take a few days to kick in due to the ‘peeling’ process.)Wash that face, see how your eyes are bright and clear and your skin bounces with health. NOW you can see the results. NOW you can put on makeup. NOW you can dazzle everyone.

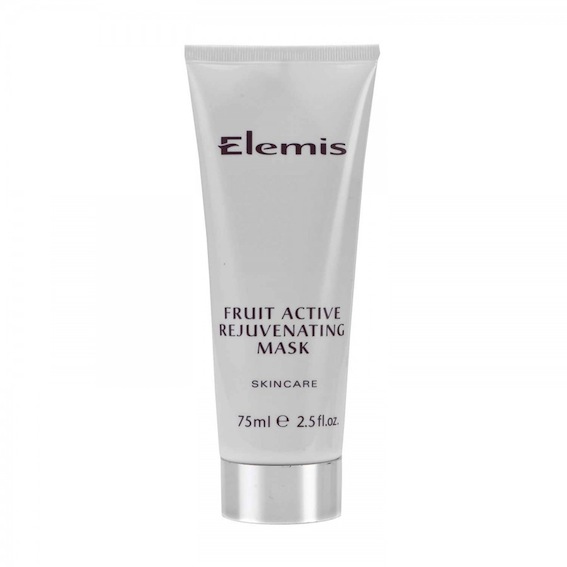
The exception: At home mini-facials before an event are fine to do on the day. I often exfoliate then do a quick 10-minute mask before makeup for events. My favourite pre-event mask? Elemis Fruit Active Rejuvenating Mask.


ELEMISFruit-Active-Rejuvenating-Mask


NAILS

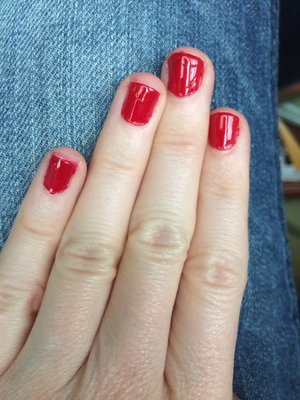
You know how sometimes after you have your nails done, they look a bit… raw?… And a bit ouchy, and if you chose a red or a dark colour and they have attacked your cuticles, or you had a shitty manicurist, your hands or feet can even look a bit, well, brutalised? Yes. Well, that’s usually (rough manicurists aside) because it’s all so fresh, and your cuticles need to settle back in against the nail, and the raw look of nailbeds that have just been filed and buffed and scrubbed and polish-removed and painted needs to be given some time. So do it the day before. This is especially true if the colour makes your skin look lifeless – you can pop on some fake tan, OR, if you had gels/Shellac and hate the colour because it makes your hands look like Aunty Edna in her casket, the poor dear, even paint over them with a coat of regular nail polish. (It can be removed again with a swipe polish remover and your gels will be perfect underneath.)


Badmanicure

 MAKEUP

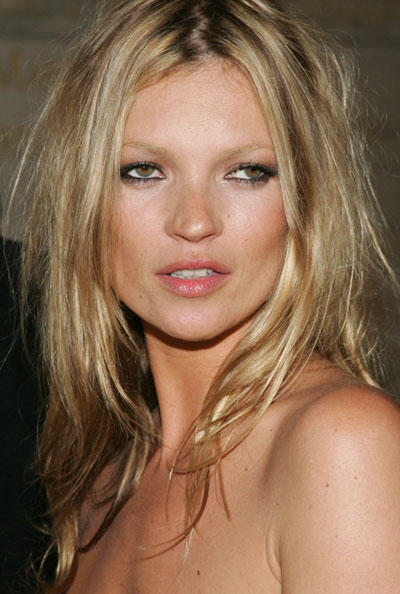
This one is a biiiit of a stretch, and probably not really worth advocating, but sometimes second day liner looks way better than perfect, neat liner. You know the kind, the smudgy, Kate Mossy kind (she was the one who kind of invented second day kohl, saying she never really cleaned her eyes and just kept adding more each day…bit gross but not terrible every now and then) where your eyes are rimmed perfectly in black, in a way that cannot be created by hand and kohl, only sleep and time. The look is best when you’ve done a REALLY smoked up eye the night before, and even despite all your best makeup removal efforts, a black frame still lines your eyes. I must admit I have on one or two occasions applied a rim of black kohl along my upper and lower lashline (and the inner lower) before bed to get this hell rock n’ roll babe look the next morning. All you need do is add mascara and a flush of sweet pink cheeks. Or, more liner, and some brown shadow just keeping it in close to the lashline, top and bottom, and heaps of mascara, and go hard out.

Another thing that kind of counts as makeup is brow tinting. I recommend going strong on tint day if you can, (eg: have no plans that night) so your tint will last longer. By the time you wash your face that night or the next morning even, the tint will calm down, and any that was on your skin, not the hair, will go, and you will look less Bert/Ernie and more Brooke Shields.

 KateMossSmudgedliner


FOOD

Spaghetti bolognese. It’s always tastier the second day. You know it, I know it: why fight it?

Responses to this drivel: 36 Comments
06
Dec

Three powders that just make things better.

And they really do, and I know that because I bloody use them daily and I bloody love them.

POWDER ONE: Loose Powder

Which will: Set your makeup, remain invisible, not create or exacerbate your lines.

Face powders have copped a bad wrap in the past, mostly because they deserved it. It was horrible. Thick, salmon-toned and utterly unbelievable despite being the final product on a face, and the one meant to really ram home the “this is just great skin, obviously” effect.

While loose or translucent powders have always been different, far more lightweight and devoid of colour, they too had some work to do. For years I would shun them when having my makeup done for shoots or events because they made fine lines stand out and aged me, but now I not only sit quietly as they apply the powder right at the end (EVEN under my eyes) to set my makeup, I do it myself at home when I really want my makeup to stay in place. (In conjunction with primer used before my foundation.) Even if that makeup is only BB or CC cream.

I put this down to better technology, better and tinier particles, light-reflecting pigments and even the addition of skin care ingredients in some brands. Many loose powders now work to actively blur fine lines and soften the look of the skin, which is a complete contrast to what we have come to expect from them.

Do this: Take a clean, small blush brush (with no blush or bronzer on it at all) and dip it into your powder, tapping off the excess. Now lightly dust the brush down your T-zone (middle of the forehead, nose and chin) as well as anywhere else prone to shine. It’s also not a bad idea to set all of your undereye concealing and brightening work with a touch along there too.

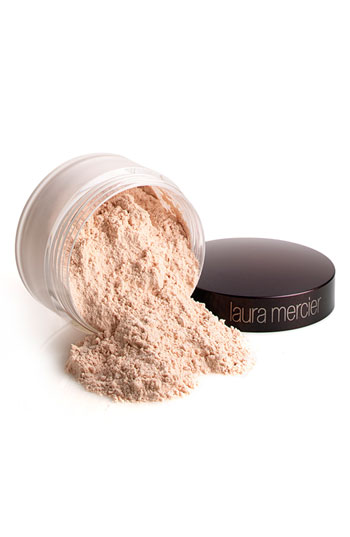
I like: Laura Mercier’s Loose Setting Powder.

LauraMercierLoosePowder

POWDER TWO: Hair volume powder

This will: Add fullness, texture, grit and instant volume to even the cleanest or flattest or slipperiest of hair.

Also referred to as ‘hair powder’ or ‘texture powder’ (by hairdressers) or ‘magic dust’ (by me), this is very fine, wet dust that comes in a wee little container, generally around the size of a Milky Way, and takes your hair from flat, dull or too-clean and perfect and too shiny, to cool-girl film clip hair very, very swiftly indeed. It makes your hair look matte. Slept-in. But also fuller. Like you had an awesome blow dry and hot rollers yesterday, but then went out all night and slept on it. Perfect.

It’s a dry hair product, a finishing product, so you only use it once hair is completely dry if you’ve just washed it, or at any time if your hair is not just washed. It is horrible when used on wet or even damp hair. Don’t do it.

Do this: I have provided instructions on how to use it many times, but basically, you want to very lightly sprinkle/tap the product onto the scalp, all over the head. Quickly and randomly. I lift up sections and tap on the underneath so as to get the volume and texture without the visible  heaviness on the scalp, which can happen if you use a lot, because it’s a no-turning-back product, and by that I mean, if you go overboard, you’re screwed. So start lightly. Even by tapping it out onto fingers and then massaging those fingers into the scalp.

On photoshoots I note the stylists will often use the powder on my mid-lengths to ends as well, for that piecey, rock girl, matte, dishevelled look, which I sometimes do, but find it weighs my fine hair down just a touch, so only when my hair is SUPER CLEAN and super boofy and the only way to remedy it is with a shittonne of texture and the kind of facial expression that assumes I meant it.

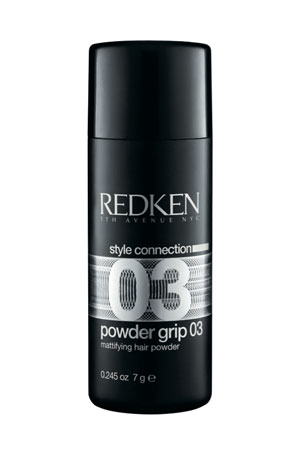
 I use: Pretty much all of them. Don’t style hair or travel without them. Am a long time fan of the original, Aveda’s Pure Abundance Hair Potion, but currently using Redken’s.

Redken-03-Powder-Grip-Mattifying-Hair-Powder

 POWDER THREE:  Dry shampoo.

This will: Save your arse when your hair is dirty and uninspiring. Also: add volume and interest when your hair is clean.

I really probably can’t write too much about this Desert Island, can’t-live-without, Top Five, Must-have, go-to product, since I have done so so extensively in the past, (and even created a how-to video on it, which seems ridiculous but many dry shampoo users are simply not using enough product, or using the product close enough to the scalp, or massaging it in fully) but suffice to say, I’m an enormous fan and generally have around four cans on the go at once. I use it to liven and puff up greasy hair, but also love it on clean hair to make it a little more matte (not gritty and textured, as per hair powder) and add some gentle second-day-ness to it.

(And yes, it is a powder. A really, really fine one. Like talc.)

Do this: Spray no more than 10cm away from the scalp. Use a fair whack of product. (Go for the Batiste coloured versions if you hate the grey-wig hair look this creates because of your darker hair.) Allow the product to sit on the scalp for 15 seconds. Massage in with hands if you’re short of time, or blow dry through with a brush for the perfect crime (i.e.: undetectable). Blondies tend to get even more use out of dry shampoo, because of their bleach, and can use it for 2-3 days in a row before succumbing to a wet shampoo (how old school) but us darker haired and fine hair babes can usually only get one day of dry shampoo on hair that’s worn out, and one day when it is up. (The REALLY PUSHING IT dirty hair final frontier.) Also, keep in mind you will look like you have dandruff if you use dry shampoo too many days in a row, cos that shit builds up. Definitely shampoo twice when you finally succumb to a hair wash.

I use: All of them, but am especially partial to the Batiste brunette one.

Batiste Brunette


Responses to this drivel: 14 Comments